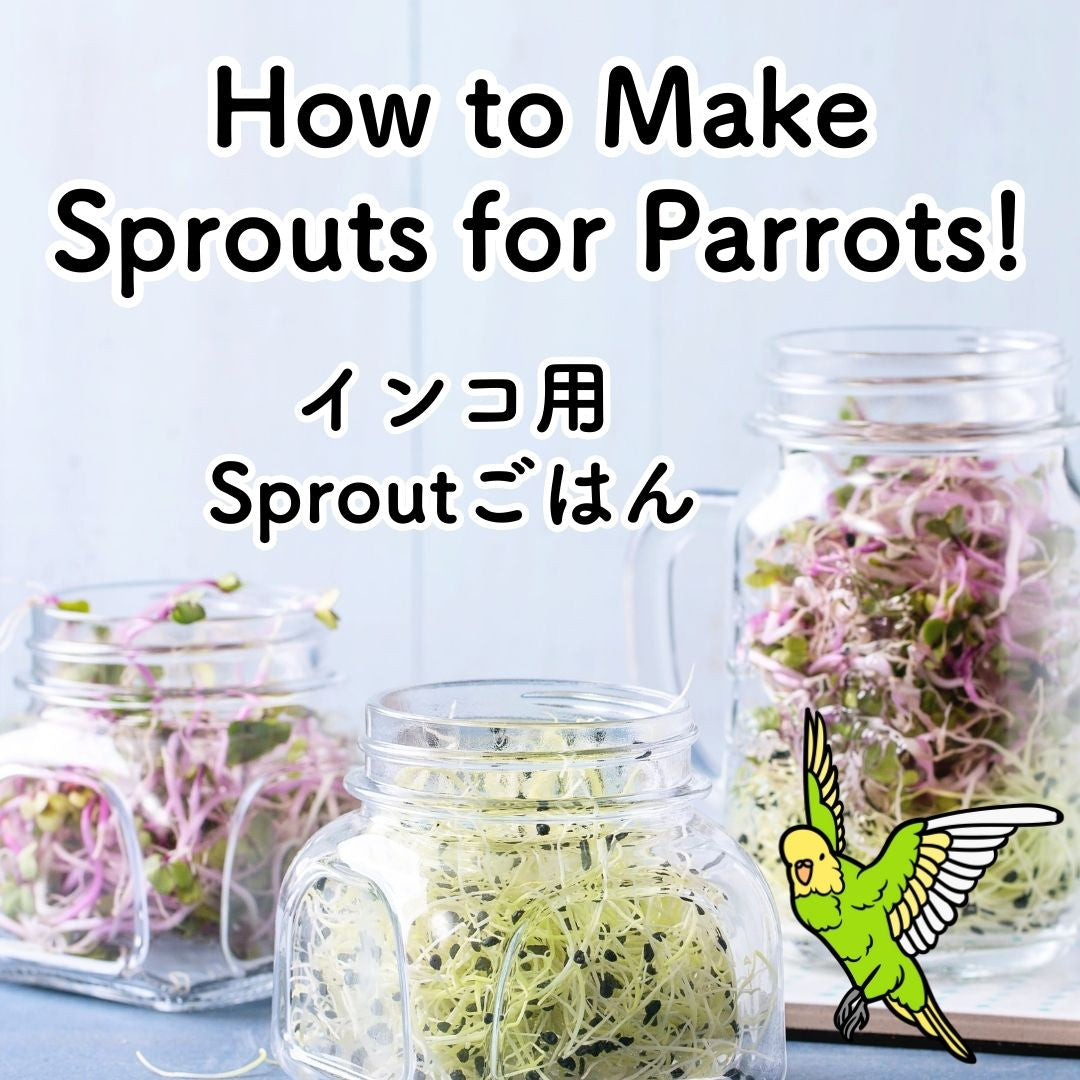
La germinación se refiere al proceso en el que las semillas o las legumbres se remojan en agua y luego se dejan reposar durante un tiempo, hasta que comienza a asomar un pequeño brote. A este estado germinado se le llama “brote”.
En pocas palabras, los brotes son semillas que han empezado a crecer. En comparación con las semillas secas o con las semillas que solo se han remojado, los brotes son más densos en nutrientes y constituyen una forma especialmente beneficiosa para las aves. En el caso de los humanos, los brotes se utilizan habitualmente en alimentos como ensaladas y sándwiches, y a menudo se les considera un “superalimento” por su valor nutricional.
En comparación con las semillas secas o con las semillas que solo se han remojado, los brotes se digieren con más facilidad y permiten que los nutrientes se absorban de forma más eficiente. Por estas ventajas, los brotes suelen recomendarse para polluelos, aves en recuperación tras una enfermedad y aves mayores.
La progresión general del crecimiento es:
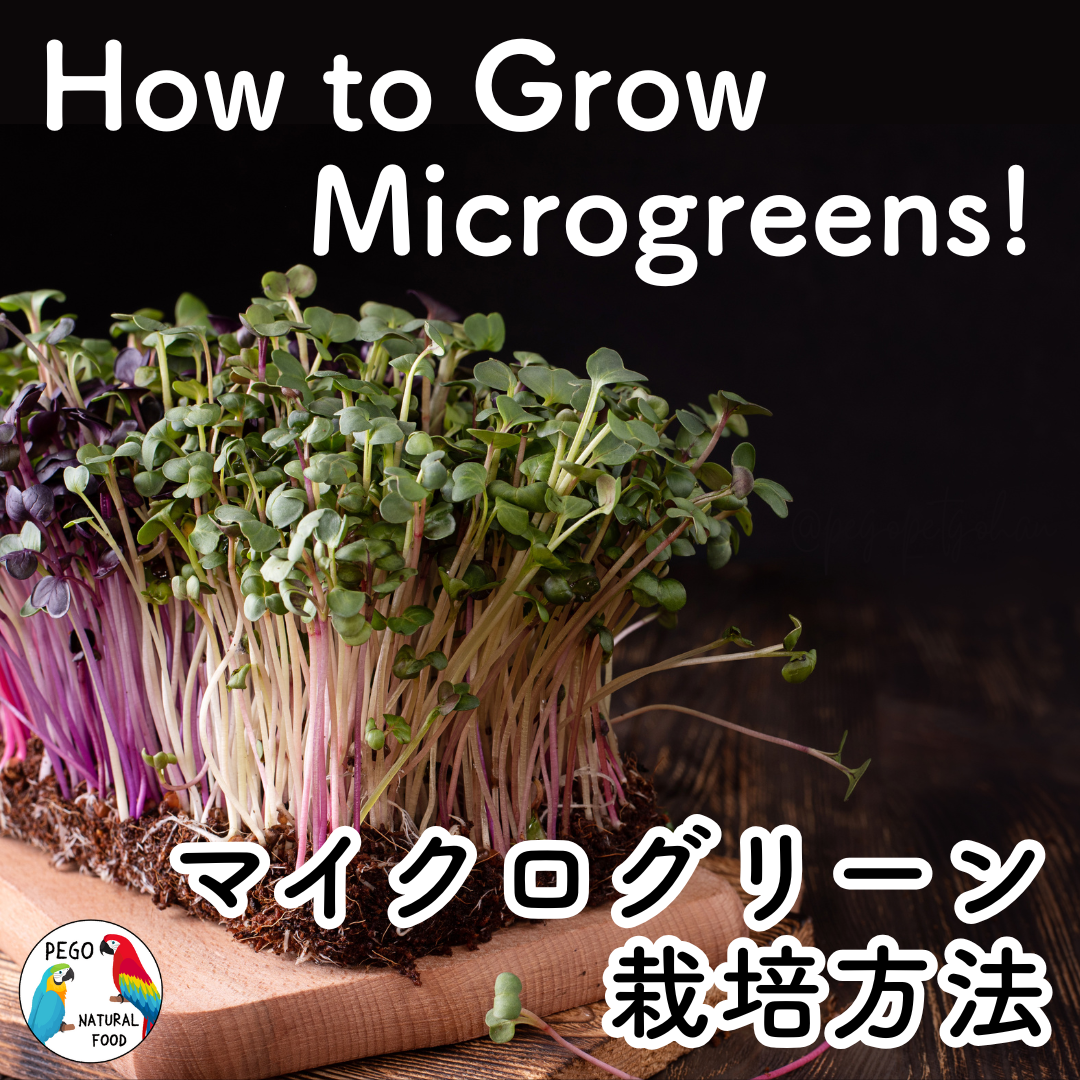
Semillas secas → Remojo → Germinación → Microgreens.

Si este artículo te ha resultado útil, te agradeceríamos mucho que lo compartieras en redes sociales.
Actualizamos con regularidad nuestro sitio exclusivo para miembros, que actualmente se gestiona principalmente en japonés. En este sitio de membresía gratuita publicamos artículos fáciles de entender, con un fuerte enfoque en la nutrición aviar y en información basada en evidencia.
Si recibimos más interés desde el extranjero, también empezaremos a publicar estos artículos en varios idiomas en este sitio.
¿Por qué se recomiendan los brotes?
・Los brotes tienen un valor nutricional mucho más alto que las semillas secas
・Durante la germinación se generan algunos nutrientes que no están presentes en las semillas secas
・Contienen humedad, lo que facilita la digestión
・Se considera que permiten una mejor absorción de nutrientes
・Son adecuados para animales con estómagos sensibles
・Al ser blandos, también son ideales para aves con picos pequeños
・Ofrecer brotes a los polluelos ayuda a favorecer una inmunidad fuerte
・Las aves mayores pueden obtener más nutrición incluso con raciones más pequeñas
・Su contenido de humedad hace que no “roben” agua al cuerpo, reduciendo la carga física
・Las proteínas se descomponen con más facilidad en aminoácidos
・Las enzimas se activan (las semillas secas también contienen enzimas, pero están mayormente inactivas; el remojo y la germinación las activan al máximo)
y más
Los brotes tienen muchos otros beneficios, pero son demasiados como para enumerarlos aquí.
Además de la nutrición, la razón principal es que son la forma de alimento más adecuada para las aves.
¿Sabías que las aves silvestres rara vez comen semillas completamente secas (reference)? La mayoría de las semillas que consumen en la naturaleza contienen humedad de la lluvia o del rocío de la mañana. Suelen comer semillas húmedas del suelo, semillas que acaban de empezar a germinar y raíces húmedas que desentierran.
En cautividad, a menudo se les ofrecen semillas totalmente secas, pero esto no es algo que encuentren con frecuencia en la naturaleza. Lo mismo ocurre con las verduras, frutas, flores, hojas, frutos secos e insectos. Comen muchos tipos de alimentos, pero por lo general en su forma fresca e hidratada.
Como las aves de compañía no están domesticadas y sus cuerpos siguen siendo similares a los de sus equivalentes silvestres, recomendamos encarecidamente ofrecer alimentos que se parezcan a lo que comerían en la naturaleza (reference).
Nota: La domesticación se refiere a cambios genéticos y de cría, no simplemente a vivir como mascota. Los detalles se pueden consultar en la referencia.
Sobre las enzimas

Las semillas secas están en un estado de latencia. El remojo las “despierta”, por eso es el primer paso. Durante el proceso de germinación que viene después, los nutrientes dentro de la semilla empiezan a cambiar y, en muchos casos, su contenido nutricional aumenta. Qué nutrientes aumentan depende del tipo de semilla.
Las semillas germinadas contienen el nivel más alto de enzimas. Aunque los tipos de enzimas varían según la semilla, las enzimas de los brotes desempeñan un papel importante al descomponer nutrientes y facilitar que el cuerpo los absorba.
Beneficios de consumir enzimas de los brotes
-
La digestión se vuelve mucho más fácil, lo que reduce la carga sobre el sistema digestivo.
-
Se descomponen antinutrientes presentes de forma natural en las semillas, mejorando la absorción de minerales como calcio, hierro, zinc y magnesio.
-
Mejora la calidad de los aminoácidos, ayudando a aportar los componentes necesarios para mantener la musculatura y regenerar las plumas.
-
La actividad enzimática durante la germinación puede aumentar los niveles de vitaminas y la disponibilidad general de nutrientes.
-
Los brotes favorecen la salud intestinal al servir como alimento beneficioso para bacterias intestinales saludables.
Esta es una explicación simplificada. Las enzimas son extremadamente diversas y complejas, así que, si te interesa profundizar, te animamos a investigar más por tu cuenta.
Lo que necesitarás
・Tarro u otro recipiente
・Colador
・GSE (Extracto de Semilla de Pomelo)
・Legumbres o semillas aptas para germinar y seguras para aves (solo semillas para germinación)
En el vídeo: garbanzos, judías mungo, lentejas y guisantes verdes. Por favor, no germines nada que no esté específicamente etiquetado para germinación.

Materiales que PEGO utiliza (mostrados en el vídeo)
Tarro: Ball® Mason Jars & Lids, Wide Mouth 16 oz
Utiliza recipientes hechos de materiales seguros, como plástico libre de BPA o vidrio.
Colador: malla de acero inoxidable
También puedes usar una tela de malla de grado alimentario como la que aparece en la foto. Se usa como un colador al escurrir el agua del tarro.
GSE: NutriBiotic
No es obligatorio usarlo, pero el uso de GSE puede aportar mayor tranquilidad.
El BPA es una sustancia química utilizada en algunos plásticos. Pequeñas cantidades podrían migrar a los alimentos y podrían interferir con la función hormonal, por lo que recomendamos encarecidamente usar recipientes libres de BPA.
GSE significa Extracto de Semilla de Pomelo. Es conocido por sus potentes propiedades antibacterianas y antifúngicas.
Cómo hacer brotes
A continuación se presenta la transcripción del vídeo.
En términos sencillos, el proceso sigue un ciclo repetido de Remojar → Enjuagar → Escurrir cada 12 horas.
Los brotes están listos para ofrecer aproximadamente 36 horas después de empezar.
Instrucciones paso a paso
-
Coloca una ración de semillas o legumbres secas en un recipiente.
-
Enjuaga bien las legumbres bajo el grifo con agua fría para eliminar residuos superficiales.
-
Repite el enjuague varias veces hasta que estén limpias y luego desecha el agua sucia.
-
Añade agua limpia en una cantidad de al menos tres veces el volumen de las legumbres y añade unas gotas de GSE (aprox. 0,05%).
-
Déjalas en remojo a temperatura ambiente durante 12 horas (no refrigeres).
-
Pasadas 12 horas, desecha el agua sucia.
-
Enjuaga las legumbres enérgicamente bajo el grifo con agua fría.
-
Repite el enjuague varias veces y, de nuevo, añade agua limpia (al menos tres veces el volumen) y unas gotas de GSE (aprox. 0,05%).
-
Déjalas a temperatura ambiente durante 10 minutos para que el GSE se impregne.
-
Después de 10 minutos, desecha el agua. No enjuagues en esta etapa.
-
Con el GSE aún sobre las legumbres, coloca el recipiente boca abajo y escurre a fondo.
-
Déjalas reposar a temperatura ambiente en estado escurrido durante 12 horas (no refrigeres).
-
Repite los pasos 6 a 12.
-
Tras otras 12 horas, algunas semillas deberían haber germinado. Enjuaga bien y ofrece los brotes limpios. Las semillas que no hayan germinado deben continuar con los pasos 7 a 12.
※ En el vídeo se usa una botella de plástico por limitaciones de espacio durante la grabación. En la práctica, por favor realiza todos los enjuagues bajo un chorro fuerte de agua corriente.
Orientación sobre tiempos y alimentación
-
Por lo general, los brotes están listos para ofrecer 36 horas (1,5 días) después de empezar.
-
Algunas semillas, como las judías adzuki o los garbanzos, pueden necesitar hasta 48 horas.
-
Las semillas que no hayan germinado después de 48 horas tienen pocas probabilidades de germinar.
-
Desecha cualquier semilla que no haya germinado después de 60 horas.
-
Antes de ofrecerlos, enjuaga siempre las legumbres a fondo bajo el grifo con agua fría para asegurar la higiene.
El enjuague debe realizarse de 2 a 4 veces al día, usando siempre solo agua fría.
Nunca uses agua tibia ni caliente.
En el vídeo, el enjuague se realiza dos veces al día, aproximadamente cada 12 horas.
Ejemplo de cronograma (aproximado)
-
Lunes 20:00 – Martes 8:00: Remojo
(Enjuagar bajo agua corriente) -
Martes 8:00 – Martes 16:00: Escurrir
(Enjuagar bajo agua corriente) -
Martes 16:00 – Martes 23:59: Escurrir
(Enjuagar bajo agua corriente) -
Miércoles 8:00: Terminado / Listo para ofrecer
En el vídeo, las legumbres estuvieron listas para ofrecer después de 36 horas.
Mejor ventana para ofrecerlos
Se recomienda encarecidamente ofrecerlos dentro de las 48 horas (2 días) desde el inicio.
Después de 48 horas suele ser seguro, pero muchas aves tienden a mostrar un interés ligeramente menor.
Como las preferencias varían según cada ave, prueba a preparar brotes varias veces para encontrar la fase que más le gusta a tu ave.
Puedes ver gratis nuestra tabla de tiempos de remojo por tipo de semilla aquí.
Actualmente estoy preparando una guía completa gratuita en PDF (aprox. 100 páginas), con información detallada semilla por semilla: nivel de dificultad, tiempo ideal de remojo, cuántos enjuagues al día, días hasta la cosecha, calorías y beneficios nutricionales clave. Si te interesa, por favor comparte esta publicación y luego deja un comentario. ¡Gracias! Ten en cuenta de antemano que no aceptamos consultas por mensajes directos.

Consejo opcional
Si a tu ave no le gusta la comida húmeda, puedes retirar suavemente el exceso de humedad con una toalla de papel antes de servir. Ajusta según la preferencia de tu ave.
Cómo germinar judías adzuki
En Japón, a veces recibimos preguntas sobre que las judías adzuki son difíciles de germinar. Las judías adzuki pueden germinarse con el mismo método que otras legumbres. Sin embargo, si tienes dificultades con la germinación, prueba el método de abajo.
Hasta que te familiarices con el proceso, recomendamos germinar las judías adzuki por separado, en lugar de hacerlo dentro de una mezcla.
※ Usa siempre semillas específicamente destinadas a germinación.
Pasos adicionales para adzuki difíciles de germinar
Los pasos 1 a 12 son exactamente los mismos que el método estándar de germinación.
-
Añade unas gotas de GSE y deja las legumbres en remojo a temperatura ambiente durante 4–8 horas.
Este es un segundo remojo que permite que las legumbres absorban más humedad. -
Después de 4–8 horas, desecha el agua y enjuaga a fondo varias veces bajo el grifo.
-
Añade unas gotas más de GSE y deja reposar a temperatura ambiente durante 10 minutos para que se absorba.
-
Después de 10 minutos, desecha el agua. No enjuagues. Escurre bien con el recipiente boca abajo mientras el GSE permanece sobre las legumbres.
-
Después de 12 horas, algunas semillas deberían haber germinado. Enjuaga varias veces y ofrece los brotes limpios.
Cronograma simplificado
- Día 1 / Primera mitad: Remojo de 12 horas
- Día 1 / Segunda mitad: Escurrido de 12 horas
- Día 2 / Primera mitad: Remojo de 4–8 horas (segundo remojo)
- Día 2 / Segunda mitad: Escurrido de 12 horas
Por lo general, los brotes están listos para ofrecerse en un plazo de 2 a 4 días desde el inicio.
Este método de segundo remojo también es recomendado por True Leaf Market.
En la mayoría de los casos, al usar semillas de germinación de alta calidad, las judías adzuki deberían germinar lo suficiente después del remojo inicial de 12 horas, sin necesidad de un segundo remojo.
Si la germinación es irregular, merece la pena probar este método.
※ No remojes las semillas de forma continua durante más de 12 horas seguidas.
Consulta la sección de preguntas frecuentes para conocer el motivo.
Puntos importantes para un buen escurrido
Condiciones para dejar el recipiente boca abajo
Al escurrir los brotes con el recipiente colocado boca abajo, asegúrate de que el entorno cumpla las siguientes condiciones:
-
Mantén el recipiente en un lugar oscuro o con sombra (evita la luz directa).
-
Asegura una buena circulación de aire alrededor del recipiente.
-
Déjalo en interior, a una temperatura y humedad cómodas para las aves.
-
No uses el frigorífico, ni siquiera en verano.
-
Mantén una higiene estricta (lo ideal es que la boca del recipiente no toque ninguna superficie).
-
No permitas que el interior del recipiente se seque por completo.
-
Al mismo tiempo, asegúrate de que el exceso de agua se haya escurrido por completo.
Mientras se cumplan estos tres aspectos esenciales—recipiente limpio, buena circulación de aire y enjuague 2–3 veces al día—la germinación rara vez falla en condiciones normales.
Sobre el uso del frigorífico
En verano, recibimos muchas preguntas sobre refrigerar los brotes por el calor.
La idea básica es: no refrigerar durante el proceso de crecimiento; refrigerar solo después de que la germinación haya terminado.
Usar el frigorífico en lugar de la temperatura ambiente puede, de hecho, hacer que las semillas se estropeen con más facilidad, reducir la tasa de germinación y provocar desequilibrios nutricionales. Aunque el frío puede frenar el crecimiento de E. coli y Salmonella, la Listeria aún puede crecer en entornos refrigerados. Además, los frigoríficos son espacios cerrados con poca circulación de aire.
Las personas con experiencia pueden manejar métodos alternativos sin problemas. Sin embargo, para principiantes o para quienes aún no se sienten seguros evaluando el estado de las semillas, no se recomienda refrigerar durante la germinación.
Saber identificar correctamente el estado de las semillas—por ejemplo, distinguir el mucílago natural de la semilla del deterioro—es una habilidad importante. Por este motivo, recomendamos encarecidamente seguir solo el método estándar a temperatura ambiente. Esta orientación también aparece en las precauciones de muchos productores profesionales de brotes.
Especies y cantidad de alimento
Especies
Los brotes pueden ofrecerse a aves que van desde pequeños pinzones hasta grandes loros.
No deben darse a lories ni a lorikeets.
Para todas las demás especies, desde pequeñas hasta grandes, se recomienda encarecidamente ofrecerlos a diario.
En particular, para los loros Eclectus, se recomienda especialmente ofrecerlos a diario debido a sus necesidades nutricionales específicas.
Cantidad
Recomendamos ofrecer brotes como entre el 10 y el 20 % de la dieta diaria total del ave.
Se pueden dar todos los días a cualquier hora, aunque lo ideal es por la mañana.
Tiempo de consumo
Desecha los brotes después de unas 10 a 12 horas.
Está perfectamente bien ofrecerlos por la mañana y reemplazarlos a última hora de la tarde.
Es posible que hayas oído que las semillas remojadas o los brotes deben tirarse en un plazo de dos horas porque las bacterias nocivas crecen rápidamente. Sin embargo, las bacterias que suponen un riesgo real para la salud no alcanzan niveles peligrosos en apenas medio día. Las semillas germinadas siguen vivas, por lo que su crecimiento no se detiene en el momento en que se colocan en el comedero, y no se convierten en plantas “peligrosas” en cuestión de unas horas.
Si aun así te preocupa, puedes desecharlos después de 6 a 8 horas.
Sin embargo, a menos que tus aves vivan en un entorno completamente estéril, no es necesario preocuparse en exceso.
Hay un dicho que se escucha a menudo en conversaciones sobre semillas remojadas, brotes y microgreens:
A veces, por miedo a pequeñas desventajas, se terminan perdiendo beneficios mucho mayores.
Consideraciones sobre el clima
Una de las preguntas más comunes que recibimos es: “En mi país hace mucho calor y hay mucha humedad, así que me preocupa germinar.”
El calor y la humedad elevados no son ideales para la germinación, pero por lo general no es tan arriesgado como mucha gente teme.
Como referencia, estas son las condiciones promedio de Florida en 2025.
Con una técnica adecuada, en Florida se puede remojar, germinar y cultivar microgreens de forma segura sin problemas.
Los valores anteriores son orientativos.
Si germinas en interior con aire acondicionado y la temperatura ambiente se mantiene por debajo de 28 ℃(82℉) Celsius, y si tu ave está cómoda en ese entorno, germinar no es un problema.
No se recomienda germinar al aire libre.
Si tu entorno interior se mantiene por encima de 30 ℃(86℉) Celsius o la humedad supera el 70 %, tampoco es ideal para la salud de tu ave. En ese caso, ajusta el entorno usando deshumidificadores o ventiladores para mejorar la circulación de aire.
Tan importante como la temperatura y la humedad es asegurar una buena ventilación y usar recipientes limpios. Estos factores reducen en gran medida el riesgo de deterioro.
Algunas personas creen que solo se debe germinar en estaciones frescas, pero por la salud de tu ave, recomendamos ofrecer brotes durante todo el año siempre que se controlen adecuadamente las condiciones.
Cómo conservar los brotes después de germinar
Puedes preparar un lote más grande y guardar brotes para usarlos después, pero siempre que sea posible se prefieren los brotes recién hechos, ya que las aves suelen comerlos con más ganas y, en general, son más seguros desde el punto de vista higiénico.
Conservación en el frigorífico
Vuelve a colocar en el recipiente de germinación la porción que planeas guardar. Añade unas gotas de GSE y deja reposar a temperatura ambiente durante 10 minutos para que el GSE recubra las legumbres.
Después de 10 minutos, no enjuagues. Escurre bien mientras el GSE permanece sobre los brotes, luego pásalos a un recipiente hermético y guárdalos en el frigorífico.
Para mejores resultados, elimina por completo el exceso de humedad con una toalla de papel antes de cerrar el recipiente.
Al ofrecerlos, enjuaga bien los brotes bajo el grifo justo antes de servir para asegurar que estén limpios.
A menudo se dice que los brotes se conservan hasta una semana en el frigorífico. Sin embargo, según la experiencia de PEGO, recomendamos usarlos dentro de los 3 días posteriores a la refrigeración siempre que sea posible.
Conservación en el congelador
Escurre bien los brotes, colócalos en un recipiente hermético y guárdalos en el congelador.
No es necesario enjuagarlos antes de ofrecerlos.
No recomendamos descongelarlos con calor, por ejemplo usando microondas. Aunque PEGO no congela brotes personalmente, muchas personas optan por descongelarlos suavemente usando agua tibia.
A menudo se dice que los brotes se conservan entre 3 y 4 semanas en el congelador, pero utiliza tu propio criterio y comprueba cuidadosamente el estado de las semillas. Siempre que sea posible, úsalos cuanto antes.
Preguntas frecuentes
Hay una textura viscosa
Mucha gente desecha los brotes en cuanto nota una textura viscosa, pero lo viscoso no siempre significa deterioro.
Algunas semillas se vuelven resbaladizas de forma natural al absorber agua. Un ejemplo conocido son las semillas de chía, que forman un gel al hidratarse. La okra también se vuelve viscosa cuando se corta.
Las semillas que contienen polisacáridos suelen desarrollar una textura viscosa de manera natural. Antes de decidir si usarlas, es importante determinar si esa viscosidad se debe a las propiedades naturales de la semilla o a un deterioro real.
¿Cómo puedo saber si los brotes se han estropeado?
Los indicadores más fáciles son el olor y el color.
Incluso si los brotes se sienten viscosos, a menudo son seguros si no hay mal olor. Sin embargo, la decoloración puede indicar deterioro, y esas semillas deben retirarse.
Si hay viscosidad y además aparece mal olor o decoloración, deséchalos inmediatamente.
Las semillas no germinan
Como las semillas son productos naturales, los resultados pueden variar. Sin embargo, las semillas que se venden específicamente para germinar se prueban para verificar su capacidad de germinación y deberían tener una tasa de éxito alta.
Si la germinación es irregular, recomendamos revisar el proceso y probar un enfoque diferente.
Puntos a revisar:
- Aumenta el número de enjuagues
- Asegúrate de que el entorno no esté demasiado frío ni demasiado caliente
- Mantén las semillas fuera de la luz directa
- Asegura una buena circulación de aire
- Usa GSE
- Confirma que el tiempo de remojo es el adecuado
- Asegúrate de que el agua se haya escurrido por completo antes del reposo
¿Por qué debo usar semillas específicas para germinación?
La principal diferencia entre semillas normales y semillas para germinación es que las semillas para germinar han pasado pruebas para detectar patógenos alimentarios comunes como Salmonella, E. coli y Listeria, y se ha verificado su capacidad de germinar.
Tanto para brotes como para microgreens destinados al consumo humano, se recomienda firmemente el uso de semillas para germinación. Esta orientación está publicada oficialmente por la FDA (Administración de Alimentos y Medicamentos de EE. UU.). No es una ley, pero sí una recomendación formal de seguridad que indica que deben usarse únicamente semillas para germinación.
Por ello, las semillas para germinación están sujetas a estándares de seguridad muy estrictos.
Aunque las semillas no destinadas a germinación puedan germinar, no recomendamos asumir el riesgo de ofrecer a las aves—que tienen cuerpos muy pequeños—alimentos sobre los que la FDA ha advertido durante años para el consumo humano.
¿Qué nivel de germinación se considera seguro?
Si el brote ha crecido aunque sea 1 mm, es seguro ofrecerlo.
No se trata de cuántos milímetros se requieren: simplemente es si la semilla ha germinado o no.
¿Es cierto que los brotes no necesitan luz?
Sí, los brotes no requieren luz solar. La luz se vuelve necesaria solo después de que aparecen las hojas, que es cuando el proceso pasa de germinación a cultivo de microgreens.
Los brotes pueden cultivarse en completa oscuridad sin problemas.
Esto no significa que la luz esté prohibida: significa que se debe evitar la luz solar directa.
La luz solar directa puede elevar la temperatura y la humedad dentro del recipiente, aumentando el riesgo de crecimiento bacteriano (especialmente E. coli y Salmonella) y provocando que la superficie se seque, lo que causa una mala germinación.
Cultivar en un lugar oscuro es lo ideal, pero la iluminación normal de interior es perfectamente válida.
¿Puedo germinar un solo tipo de semilla o mezclar varias?
Ambas opciones están bien. Desde el punto de vista nutricional, recomendamos usar varios tipos de semillas.
Sin embargo, ten en cuenta que distintas semillas germinan a ritmos diferentes.
Me dijeron que los brotes no son apropiados para aves
Es posible que te encuentres con opiniones así. Todo alimento tiene ventajas y desventajas.
Te animamos a considerar quién hace la afirmación y por qué, y luego decidir por ti mismo basándote en información en la que confíes.
Algunas preocupaciones comunes:
“Los brotes son peligrosos por riesgos de higiene.”
Los brotes se consumen en todo el mundo, y muchas personas los cultivan en casa. Existen numerosas empresas especializadas en brotes y en suministros para germinación.
Si la higiene es una preocupación, consulta a productores profesionales de brotes y sigue procedimientos adecuados. Reúne información, evalúa los riesgos y decide si los brotes son adecuados para ti.
Aunque los brotes conllevan riesgos relacionados con la higiene, no todas las bacterias son perjudiciales: solo las bacterias patógenas lo son. Cuando los brotes se preparan correctamente usando semillas adecuadas, el riesgo de patógenos suele ser muy bajo.
“Los suplementos o los pellets son nutricionalmente superiores, así que los brotes no son necesarios.”
¿Sabes cuánta nutrición queda en los pellets varios meses después de abrirlos?
Incluso los pellets sin abrir pierden nutrientes con el tiempo en comparación con cuando están recién producidos.
Las investigaciones muestran que los niveles de nutrientes disminuyen con el tiempo. Recomendamos informarte más sobre los beneficios de los brotes y compararlos por tu cuenta. Si decides que los brotes no son necesarios, esa decisión es completamente tuya.
“Mi veterinario me dijo que no diera brotes.”
Antes de decidir, pide el motivo concreto.
Salvo en casos médicos especiales, los brotes suelen ser un alimento seguro y saludable para las aves.
Como los brotes se parecen mucho a lo que las aves comen en la naturaleza, a menudo son más suaves para el organismo y más densos en nutrientes que los alimentos procesados. Si la única preocupación es la higiene, aprender procedimientos adecuados de especialistas en germinación suele resolver el problema.
¿Puedo remojar las semillas más tiempo del recomendado?
El tiempo de remojo recomendado es lo ideal, pero una pequeña extensión suele estar bien.
Sin embargo, no se recomienda remojar más de 12 horas para ningún tipo de semilla, ya que las desventajas superan ampliamente los beneficios.
Beneficio:
-
Las semillas duras pueden germinar con mayor facilidad
Riesgos:
-
Las semillas no pueden respirar adecuadamente en condiciones anaeróbicas (bajo oxígeno), lo que provoca mala germinación o deterioro (principio básico de la fisiología de semillas)
-
El exceso de agua debilita las cubiertas de la semilla y las paredes celulares, facilitando la invasión bacteriana
-
Es más probable que los nutrientes se filtren al agua
-
El remojo prolongado reduce el pH del agua, aumentando el riesgo de fallo en la germinación
Por estos motivos, recomendamos mantener los tiempos de remojo dentro de 14 horas, salvo que exista una razón específica.
Si es necesario remojar más de 12 horas, sigue el método de germinación de judías adzuki descrito anteriormente. No se recomienda un remojo continuo de más de 12 horas para ninguna semilla.
Aunque esto no llega a considerarse “peligroso” en todos los casos y sigue siendo una decisión personal, nuestro equipo descarta y reinicia los lotes si el remojo supera accidentalmente las 18 horas.
※ Aunque esta guía se centra en legumbres, algunas semillas tienen tiempos de remojo recomendados más cortos. Por ejemplo, las semillas con una recomendación de 4 horas de remojo, por lo general, no deberían superar unas 8 horas. Ajusta según el tipo de semilla.
Como se explicó antes en “Why Sprouts Are Recommended” y “About Enzymes,” los brotes son un alimento muy beneficioso, y no ofrecerlos es una oportunidad perdida. Te animamos a incorporarlos poco a poco.
Sin embargo, nunca des a las aves brotes que se venden ya germinados. Como se explicó en un seminario impartido por un biólogo aviar, estos productos se retiran del mercado con frecuencia en EE. UU. por contaminación con Salmonella y E. coli. Consulta el seminario para más detalles.
Esta advertencia también la emiten muchos fabricantes de semillas y empresas de equipos para germinación.
Nota
Por favor, prepara los brotes usando recipientes limpios y desinfectados.
Los tarros que se mostraron antes, utilizados por el equipo de PEGO, se hierven y esterilizan antes de usarse para garantizar la higiene.
El uso de GSE es opcional, pero lo recomendamos por motivos de higiene, ya que ayuda a frenar el crecimiento bacteriano y reduce el riesgo de deterioro.
La cantidad recomendada es solo unas gotas (aprox. 0,05%). Usar demasiado puede reducir la tasa de germinación.
Como referencia, cuando se usa un tarro Ball® Mason Jar (16 oz), el equipo de PEGO suele llenar el tarro con bastante agua y añadir 2–3 gotas de GSE.
Este no es el único método “correcto” para hacer brotes. Lo que compartimos aquí es el enfoque simplificado de PEGO, basado en una combinación de métodos recomendados por diversas fuentes.
Nuestro procedimiento se basa en orientaciones de seis fabricantes de brotes (incluido True Leaf Market), así como en estudios científicos y publicaciones sobre germinación. Hemos organizado esa información en una rutina práctica que utilizamos a diario.
Cada persona utiliza recipientes diferentes y tiene preferencias distintas, así que existen muchas formas válidas de hacer brotes. En lugar de centrarse en lo “correcto” o “incorrecto”, lo más importante es germinar de forma segura, limpia y de una manera que funcione para ti.
Te animamos a usar esta página como referencia inicial. A medida que ganes experiencia, siéntete libre de desarrollar tu propio método de germinación que se adapte a tu entorno y rutina.
Como nota adicional, el recipiente para germinación más popular en la comunidad estadounidense de aves de compañía alimentadas con whole foods es el Easy Sprout Sprouter, y sí, el equipo de PEGO también lo utiliza.